Day 3 Waterline calculations and console work
Ollie Weiss
Day 3
Wednesday, May 12, 2021
10:15pm
Hours spent: 9:45am - 3:00pm
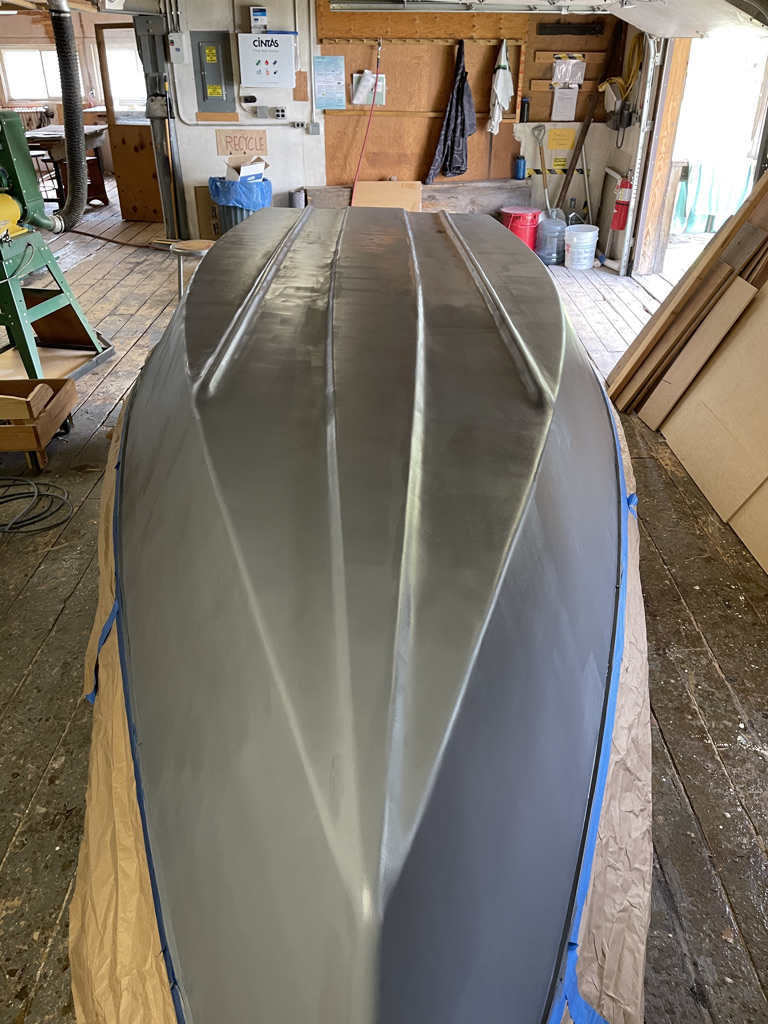
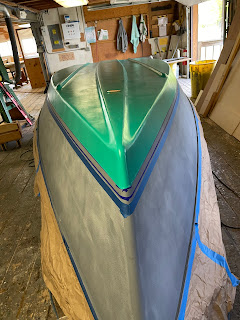
My day began at 9:45 am, mixing grey two a part epoxy primer with the hopes it would magically dry faster than expected, and I would be able to sand and continue along. However, that was not the case; after watching paint dry from different angles for almost an hour, I decided to work on the Console.
Opposed to using glue or screws to hold pieces together, I drill small aligning holes on each board and tie them together with copper wire. The tension from the copper wires allows me to run a thickened epoxy fillet along with the corner bonding the pieces together once it has time to cure. I spent a few hours this morning stitching the marine grade plywood together and running the first epoxy filletts along the corners.


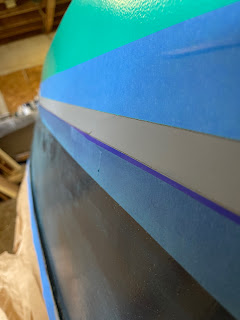
I knew the waterline was measured at 5 3/4" at the transom and 2 1/2" at the bow, And Given the sides of the boat are round, I could not run a chalk line without being crooked. Now having the file accessible on my computer of the scale version, I could import that into software and modify a diagram giving me more accurate measurements of a level water line and steps and instructions for how to measure it out tomorrow morning.


Looks awesome!!!
ReplyDeletecool water line calculations
ReplyDelete